Easy Custom Tabletop RPG Tokens Using Rubber Grips
Arts and crafts has always been one of my favorite parts of the table top hobby. Since I didn’t want to throw money at the secondary market to get my hands on out-of-print D&D minis, I have designed, printed, and assembled my own paper tri-fold minis using art stolen repurposed for personal use from Google Image Search. However, I’ve gotten out of the habit of creating these little minis in the last year. I’ve been using dice for enemies, which works just fine until one of my players says “I attack d6 number 2”. Those little cubes are supposed to be ghouls!
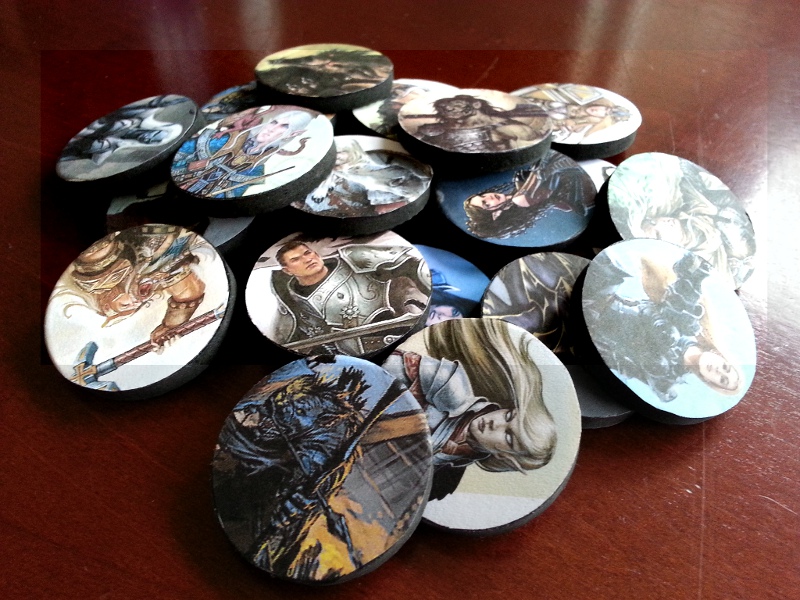
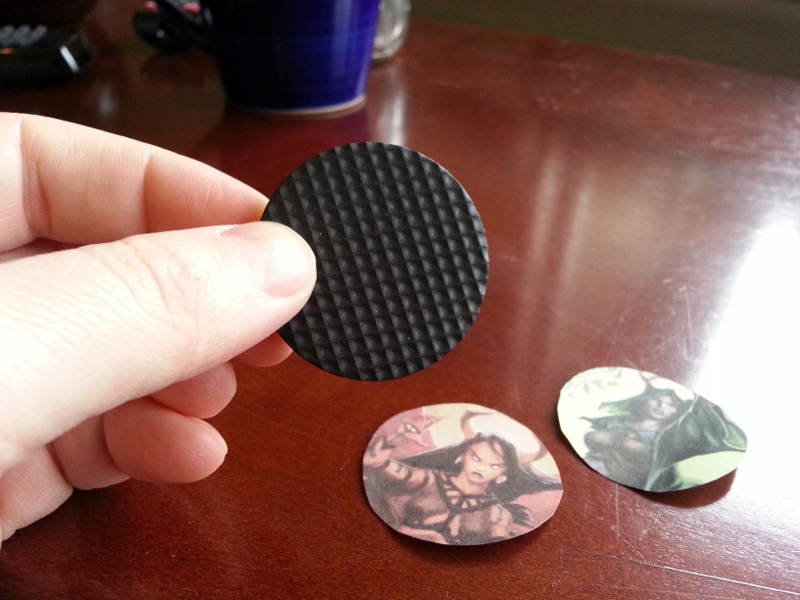
But thanks to a trip to Target and my wife’s crazy good ideas I have a new easily portable, extremely durable, and quick to make mini to drop on the table. Introducing the plastic grip token:
Token Creation
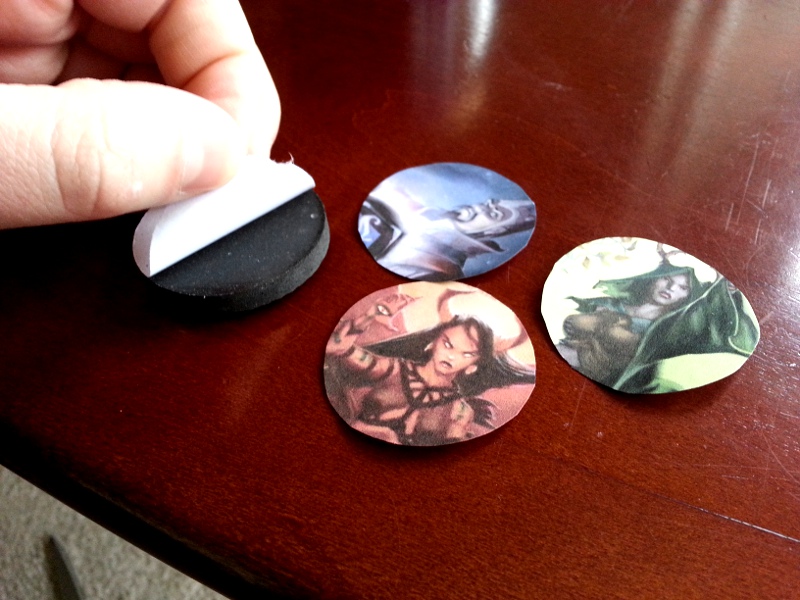
These grip tokens have two parts: the circular plastic grip and the printed circular paper image.
Most department/hardware stores sell hard plastic grips, I got mine from Target. They’re slammer-sized pads with an adhesive side that you would stick to the bottom of a shelf or a cabinet to protect hardwood floors, most likely found in the hardware or home furnishings department.

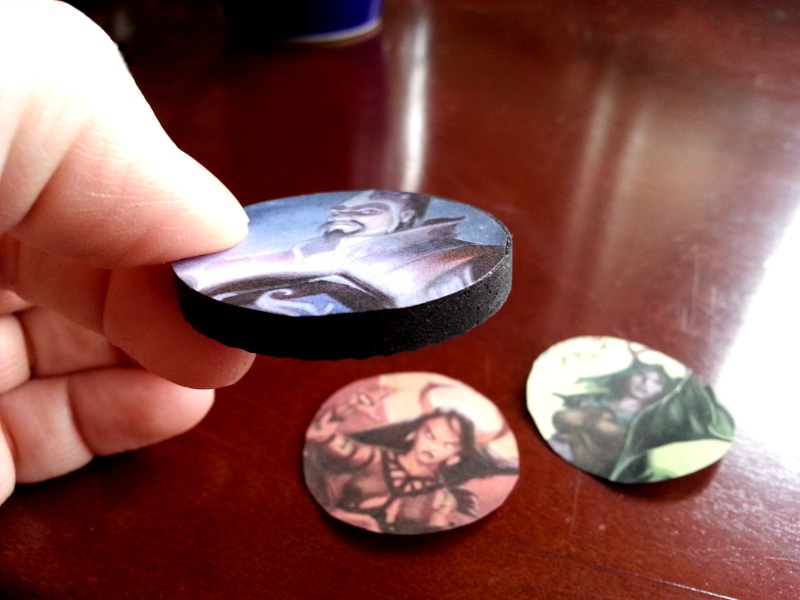
Regardless of their intended use, these grips have all of the things that I’m looking for in a table top token: they’re durable and light for easy transportation, they’re easy to pick up and move around, they come with an adhesive side, and they’re cheap and reusable. This pack of 8 was $2.25. These particular grips are also an inch and a half wide which is a huge bonus. My current game, 13th Age, doesn’t care about the square-inch grid; the indulgent extra half-inch diameter really allows me to fit in a lot of detailed art!
After you purchase your grips you’ll need to acquire image editing software. I use GIMP, which is very very free. Then you’ll need to find an image to steal repurpose for personal use. For this article I’m going to use the 13th Age Icons. I just copy and paste the image from my browser into GIMP, then I use the circle marquee tool. By holding the shift button down while clicking-and-dragging a new circular selection, you can make the selection a perfect circle.
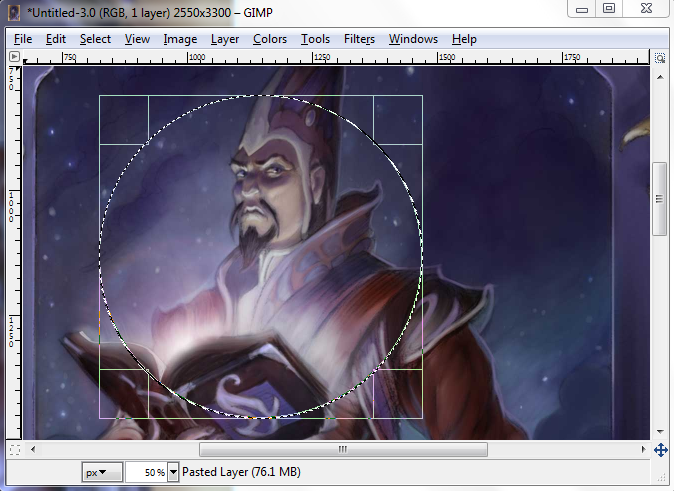
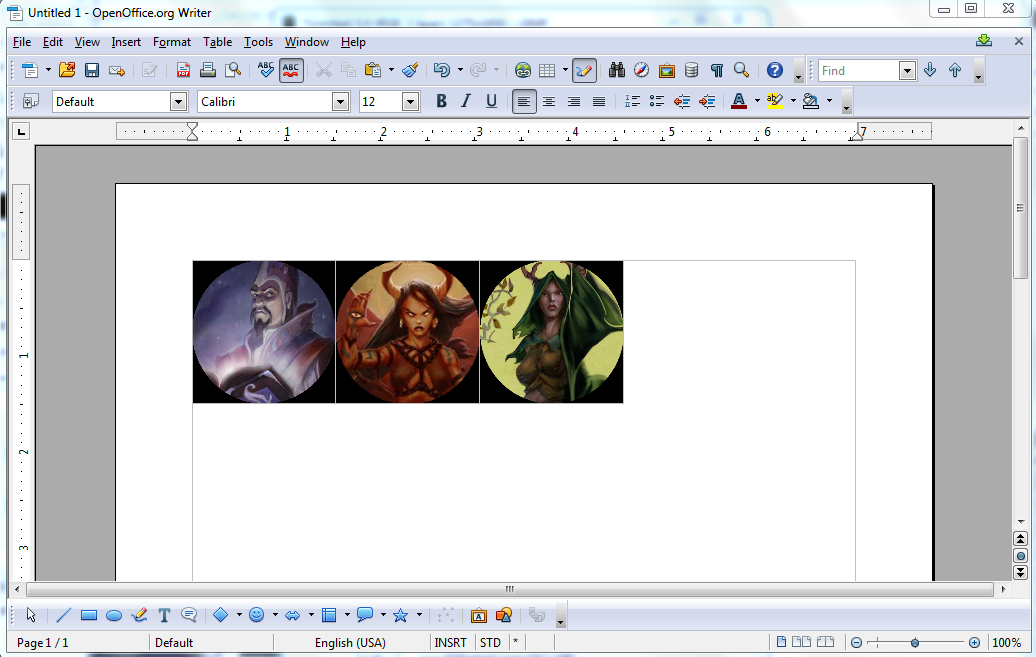
I’ve learned that the face should be about 1/3 to 1/2 of the picture. Depending on the quality of the image, you may want to adjust the brightness and contrast of the picture in GIMP. Using the Enhance -> Sharpen filter is also useful. When you’re ready, simply copy this selection to your clipboard and open up your favorite word processor. I use Open Office Writer, which is also very very free. Paste the image into the document and adjust the size to the size of the grip. (1-1/2 inch in this case.)
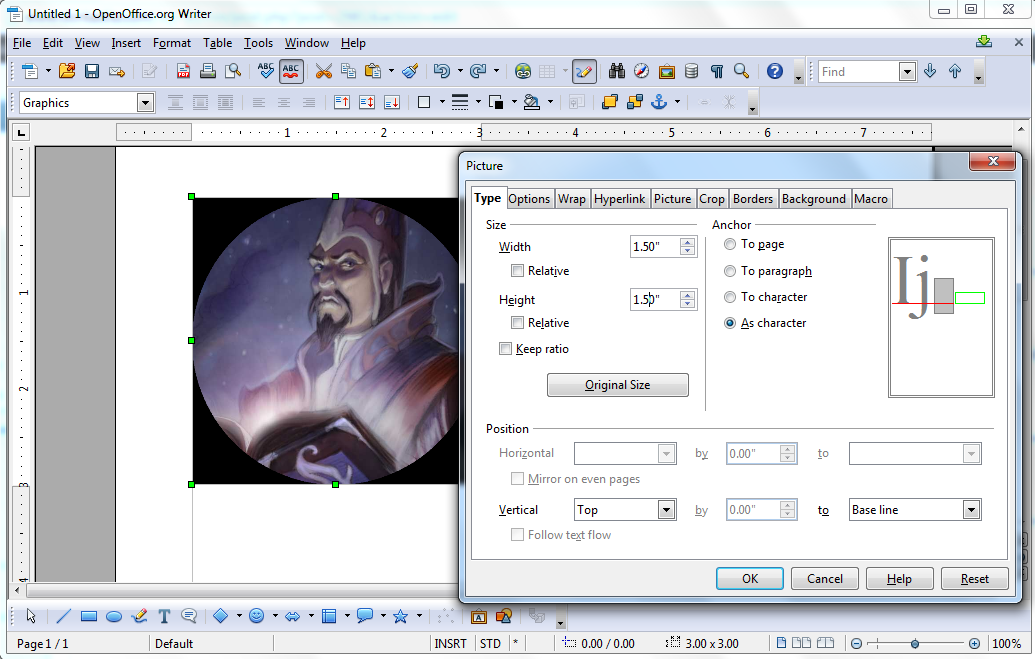
I use a word processor as a tool to lay out and print multiple tokens. I’ve used some more of the Icons from 13th Age to create more tokens on the same sheet of paper. In Writer, specifically, you may want to make the pictures anchor as a character to make them easier to arrange on the sheet.
Print out these bad boys and cut them out carefully. Take off the protective back of the plastic grip and do your best to get the paper applied evenly. I suggest using heavier paper (I use 24 pound paper) so your tokens can hold a lot of color ink and won’t shrivel in the adhesive.
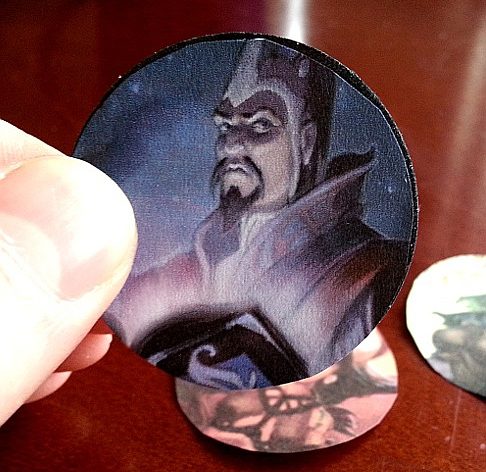
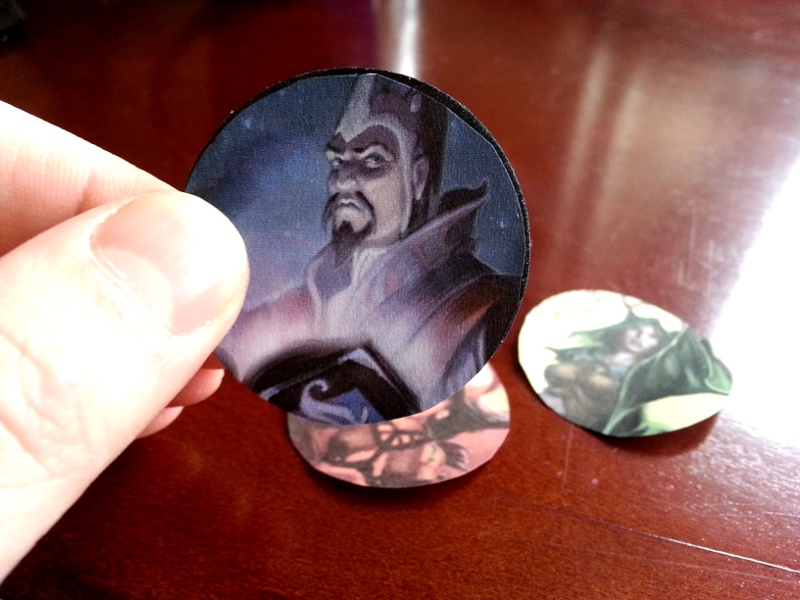
The End Result
If your aim is true you’ll have a light token that can take a hell of a beating! I’ve carried these things around in my pocket for days and they look great.
Once you get the hang of it the whole process only takes about 3-4 minutes per unique token. I spend most of my time cutting out the 1.5 circles. You don’t need to purchase new grips each time you need a new token. Using a normal glue stick will allow you to put another picture over the existing token. The heavy paper I use is thick enough so the picture underneath doesn’t show through, even with the glue.
Hopefully you find these tokens useful! They worked wonderfully at the Norwescon demo and my regular group is enjoying. They certainly don’t say that they’re attacking “that d8” anymore, which makes the modest amount of time spent making these tokens worth it. I’ll post some in-action pictures soon of these tokens soon!


Genius.. and hello from Anacortes.
Thank you! The reddit thread has a lot of good suggestions on alternate materials as well.
Also, I was just in Anacortes this last weekend, caught the ferry to Orcas Island! Mind blowingly beautiful area you live in.
Pingback: DIY: Custom tabletop tokens
I saw this a year ago on Reddit but am just now getting around to working on this project, as I’m getting sick of my stand-up Cardboard Heroes (which need to be folded, and I just can’t be bothered anymore). Anyway, I bought a 1-inch hole punch to do the cutting part:
http://smile.amazon.com/EK-tools-Circle-Punch-1-Inch/dp/B00C90WM14/ref=sr_1_1?ie=UTF8&qid=1431898675&sr=8-1&keywords=1+inch+hole+punch
I actually bought mine at Michael’s for about 6 bucks. They have many different sizes, including the 1.5 inch that you prefer.